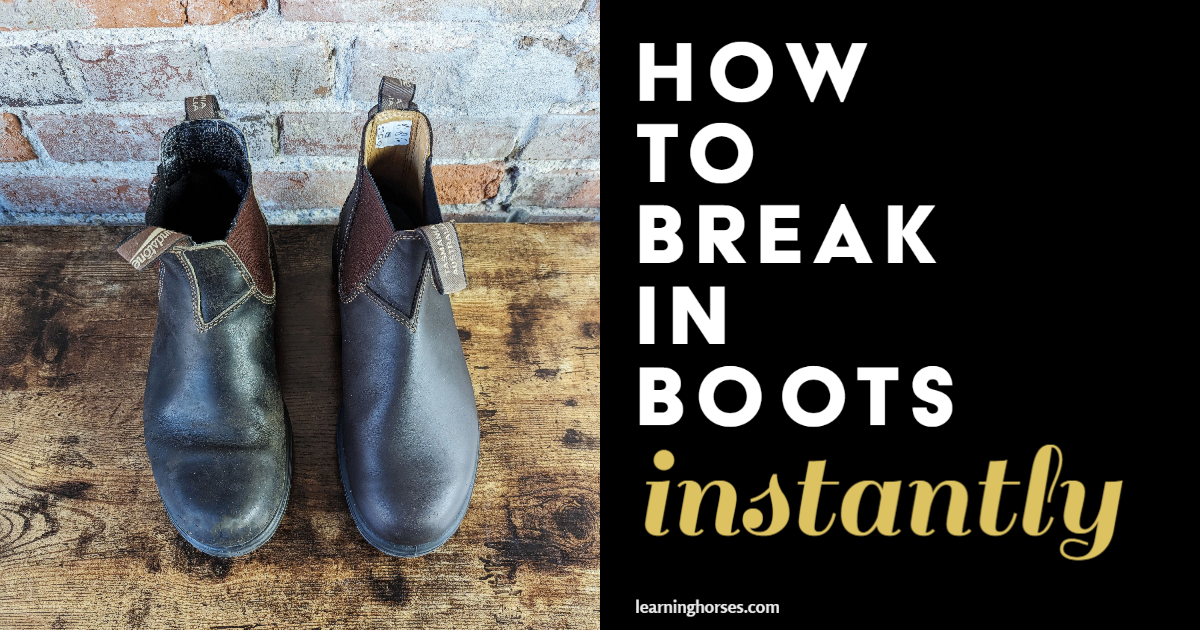
There are many different types of riding boots you can ride in: but one thing they all have in common? Break in time. In this article, I’ll show you how professional horseback riders quickly break in boots. With these methods, you can skip the pain and discomfort of new boots and jump right to enjoying your favorite boots as a second skin.
So, how do you break your new boots in to make them as comfy as a riding boot should be? There are a couple of tricks to speed up the process.
Breaking In Boots: The Best Method
I’ve broken in dozens of new pairs of stiff boots. Here’s the one method I return to over and over because boots end up broken in fast. It’s a little weird, but bear with me. This is the method old ranchers love to recommend with a smile: dunking your boots in water.
I’ve tried it, and hands down it’s the fastest way to break in leather. Here’s step by step instructions:

How to Break in Boots Fast
Total Time: 12 hours
Moisten the Leather

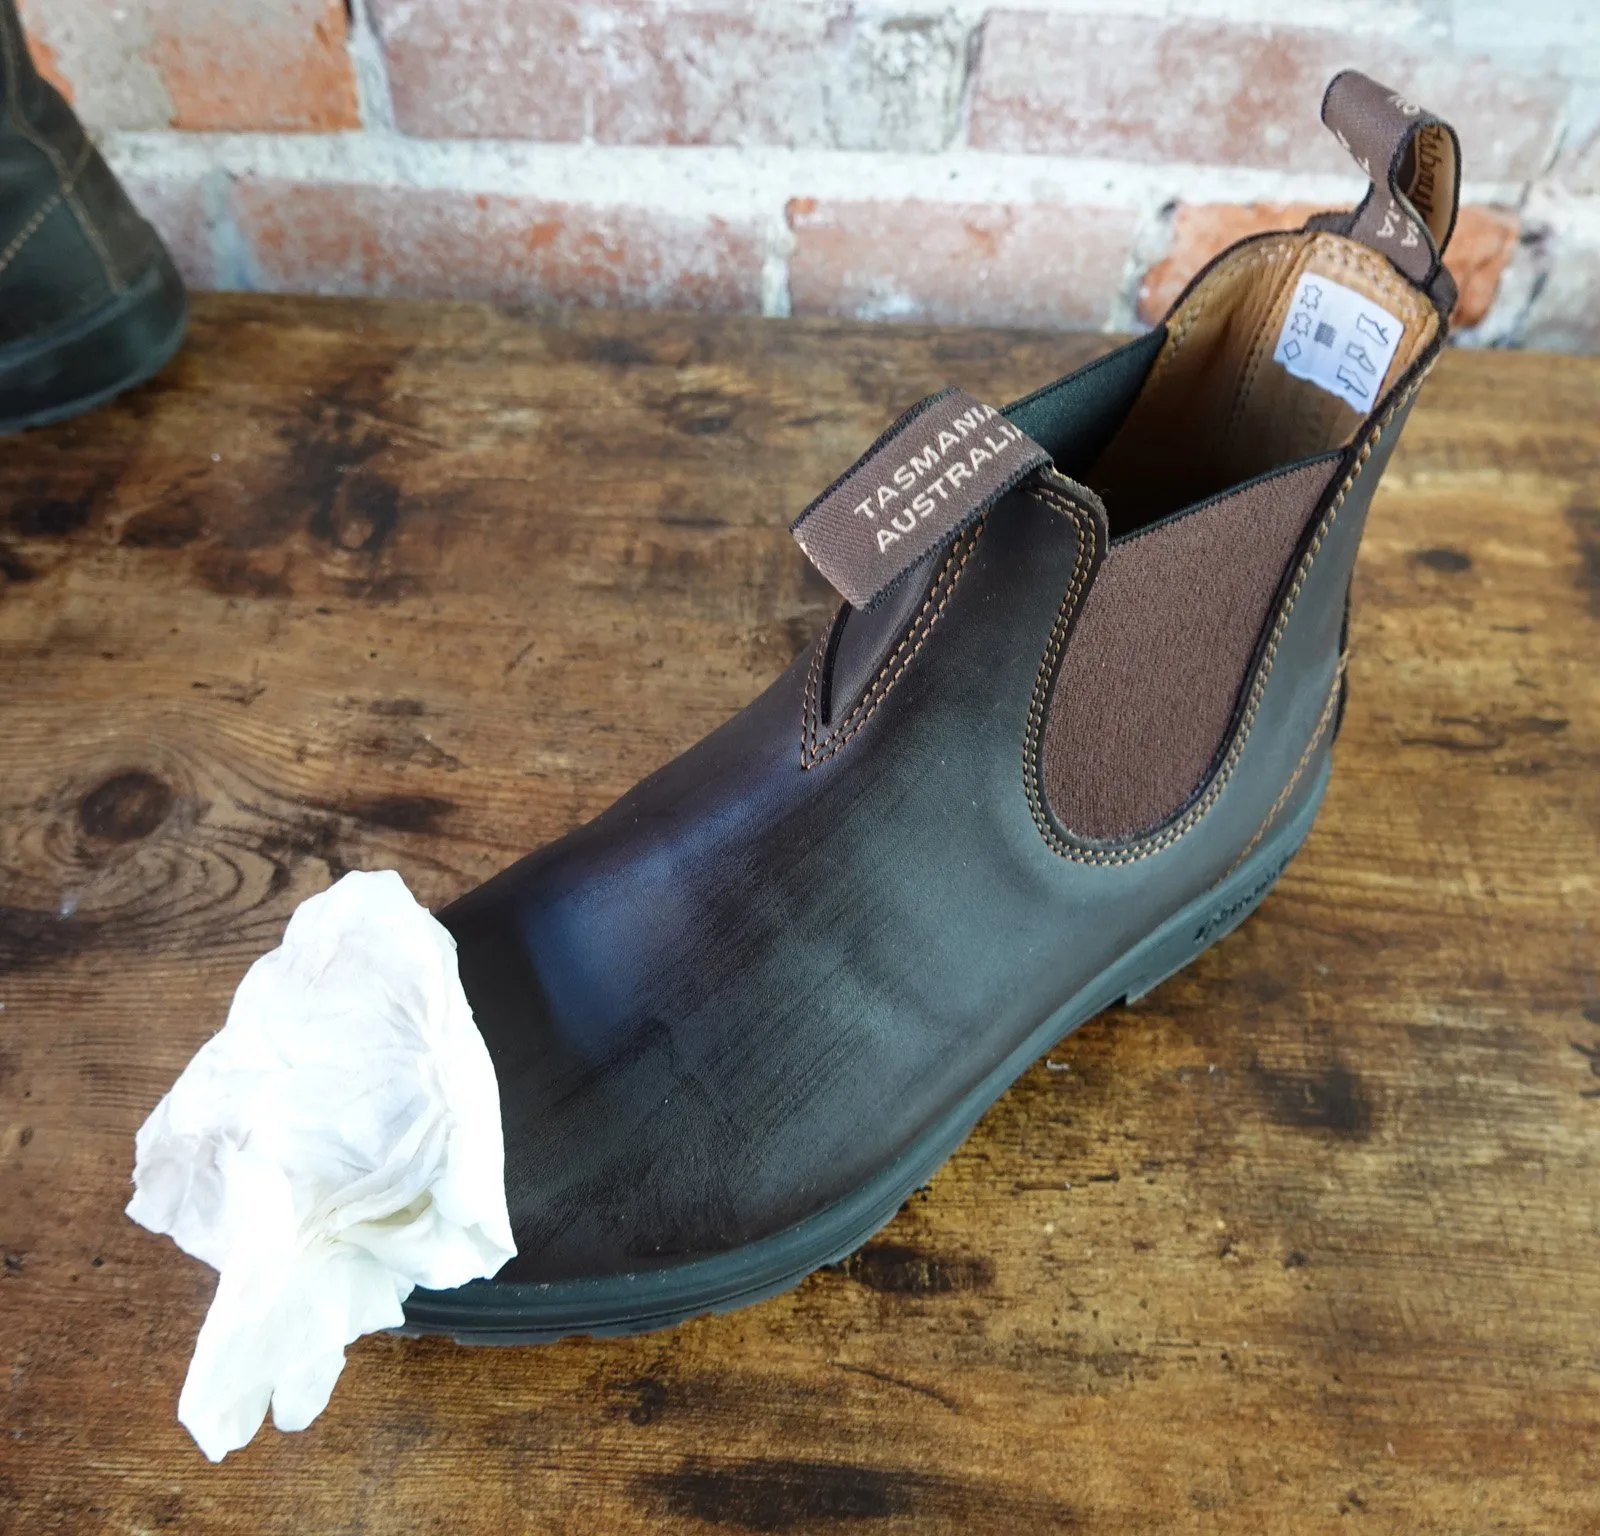
For fast and dramatic results, get your boots very wet. For best results, let water get inside the boot as well. The goal is to saturate the leather. A hose, trough, or bucket will do the job. If you’re wary, just wiping them down will get the process started.
Manually flex your boots
All boots have pain points. Locate the spot where the boot is most likely to rub and spend 3-5 minutes manually flexing that area.
Walk, ride, or work in your wet boots for 1-2 hours.

Put on your boots! If you can manage a whole day in your wet boots, that’s best. Expect, however, that they might get uncomfortable. In this phase, your boots are breaking in quickly because the wet leather stretches to accommodate your foot and how it flexes during activities.
Remove your boots and stuff them tightly with wadded paper
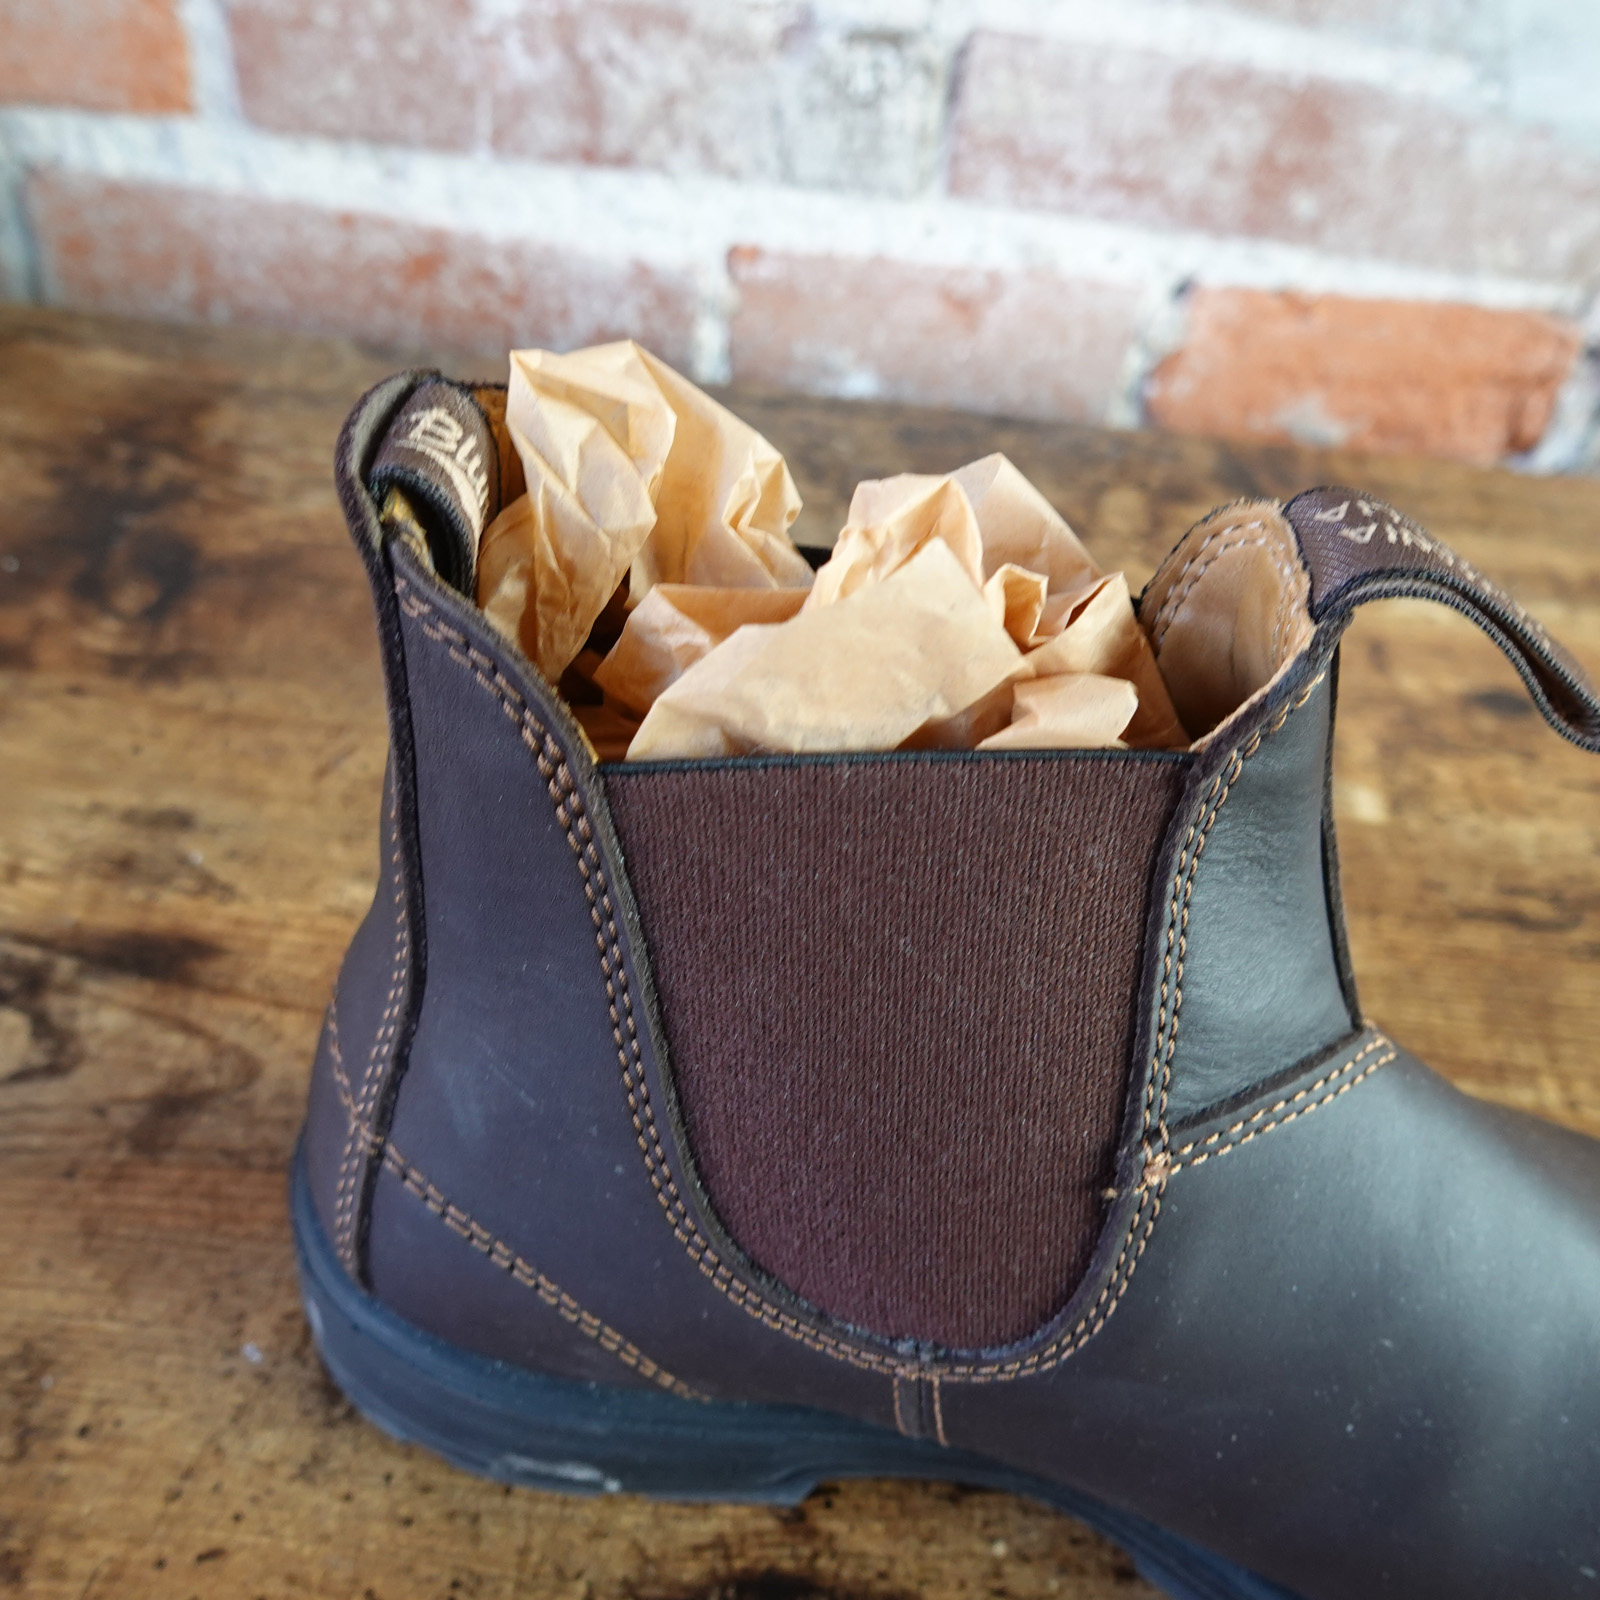

Your boots are now custom stretched! Stuffing them tightly with paper will help them keep their custom shape while they dry. The paper will also help draw water out of the leather.
Let dry completely
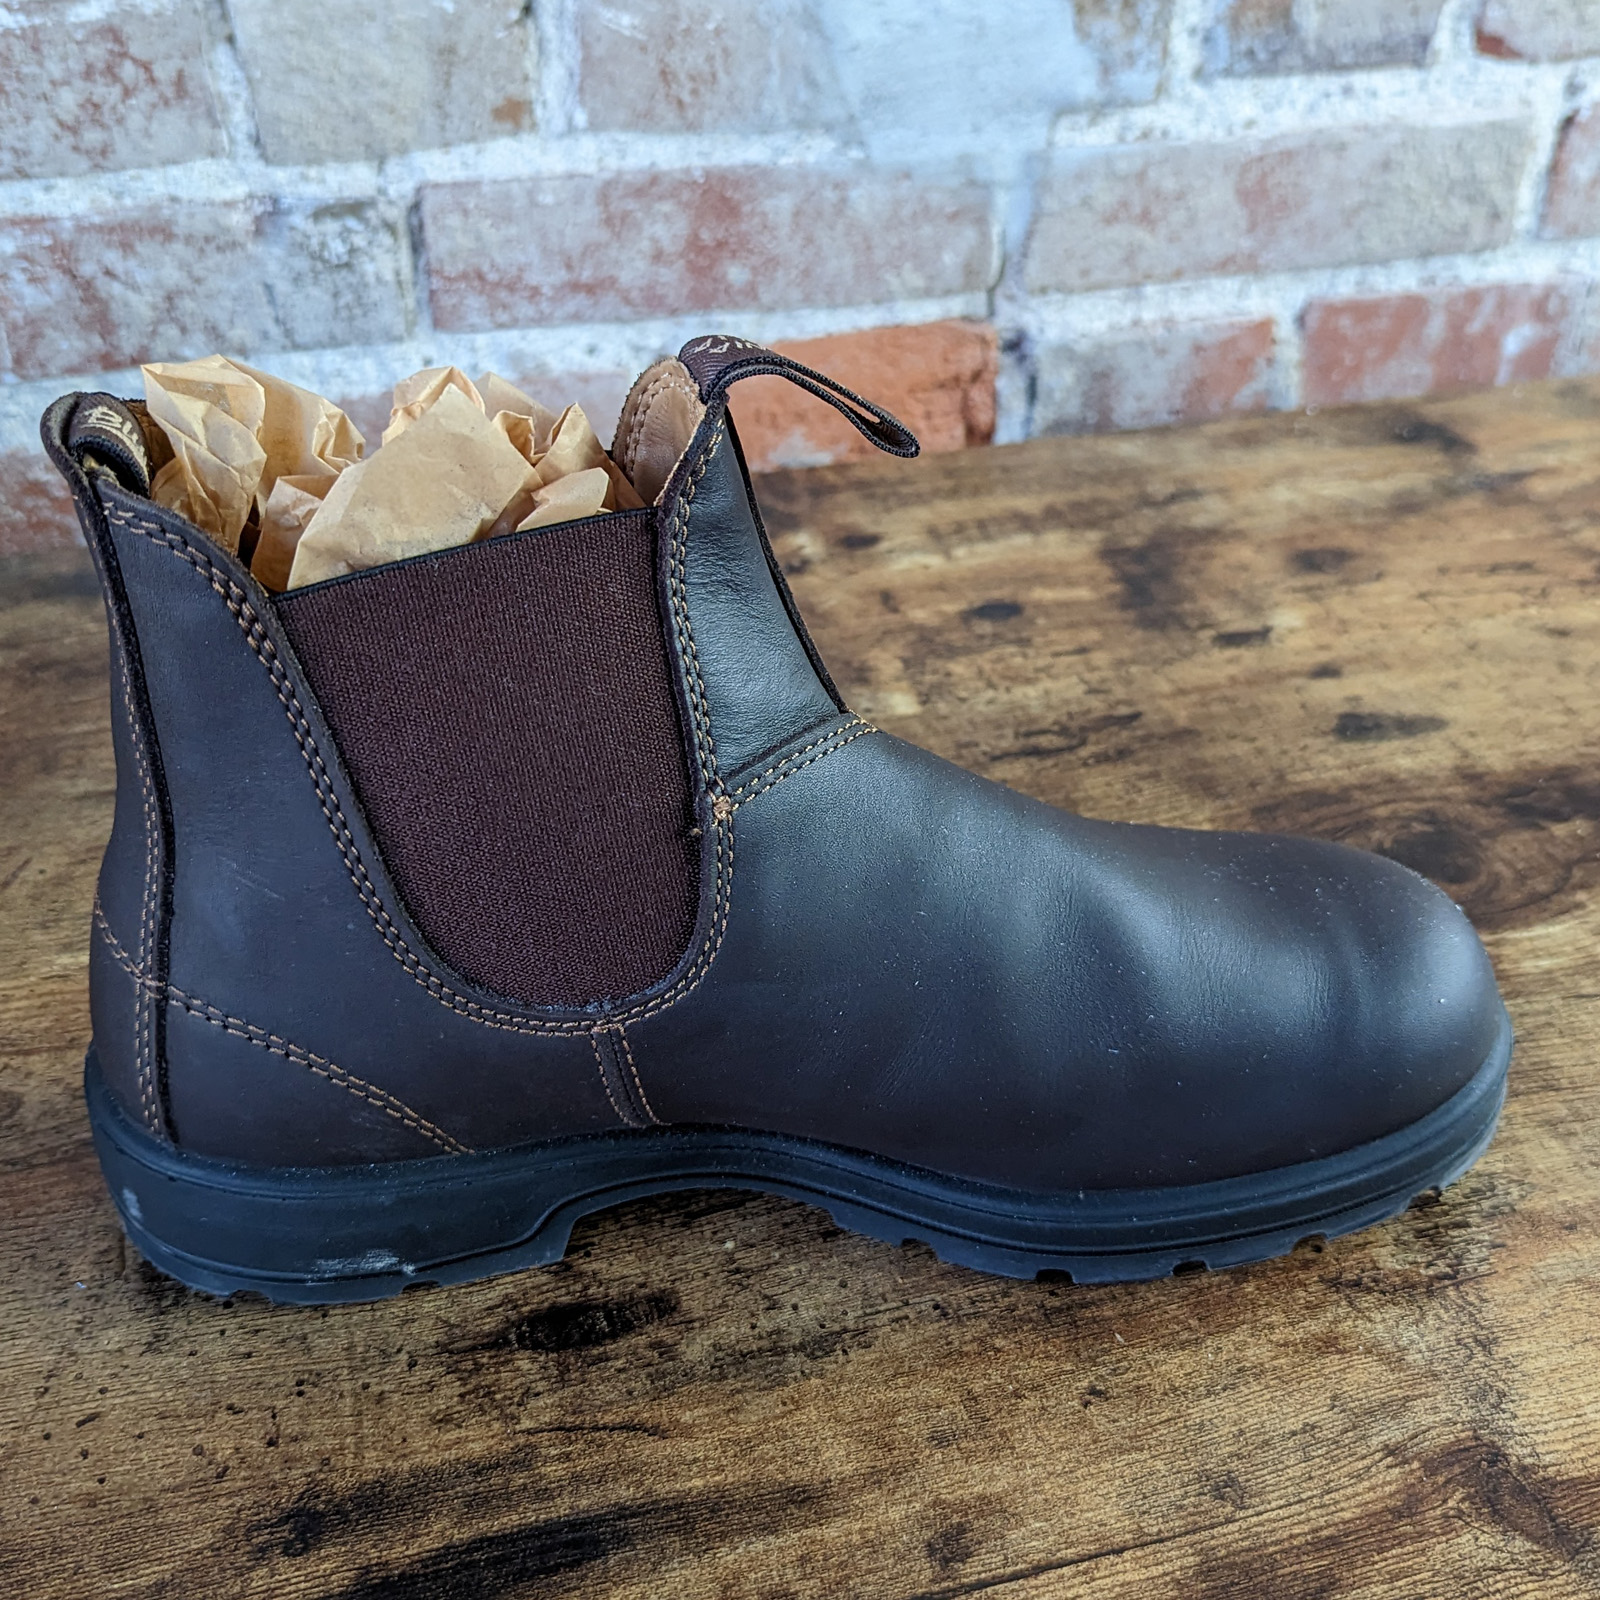

Avoid mechanical drying that would stress the leather. Instead, place your boots in a warm, dry area to dry.
Oil or condition


This step is very important! Water leeches natural oils out of your leather boots. To get the full effect of this hack for breaking in boots quickly, you’ll need to replace those oils to make your boots soft and broken in. Use an oil or conditioner intended for leather, and don’t overapply.
Enjoy!
Once your boots are dry and oiled, they’re ready to use. In a fraction of the time it takes to break in boots the old-fashioned way (with weeks of blisters!) you’re ready to enjoy your broken in and custom-stretched boots.
Supply:
- Boots
- Paper
- Water
Boot Breaking In Method #2: Condition Your Boots
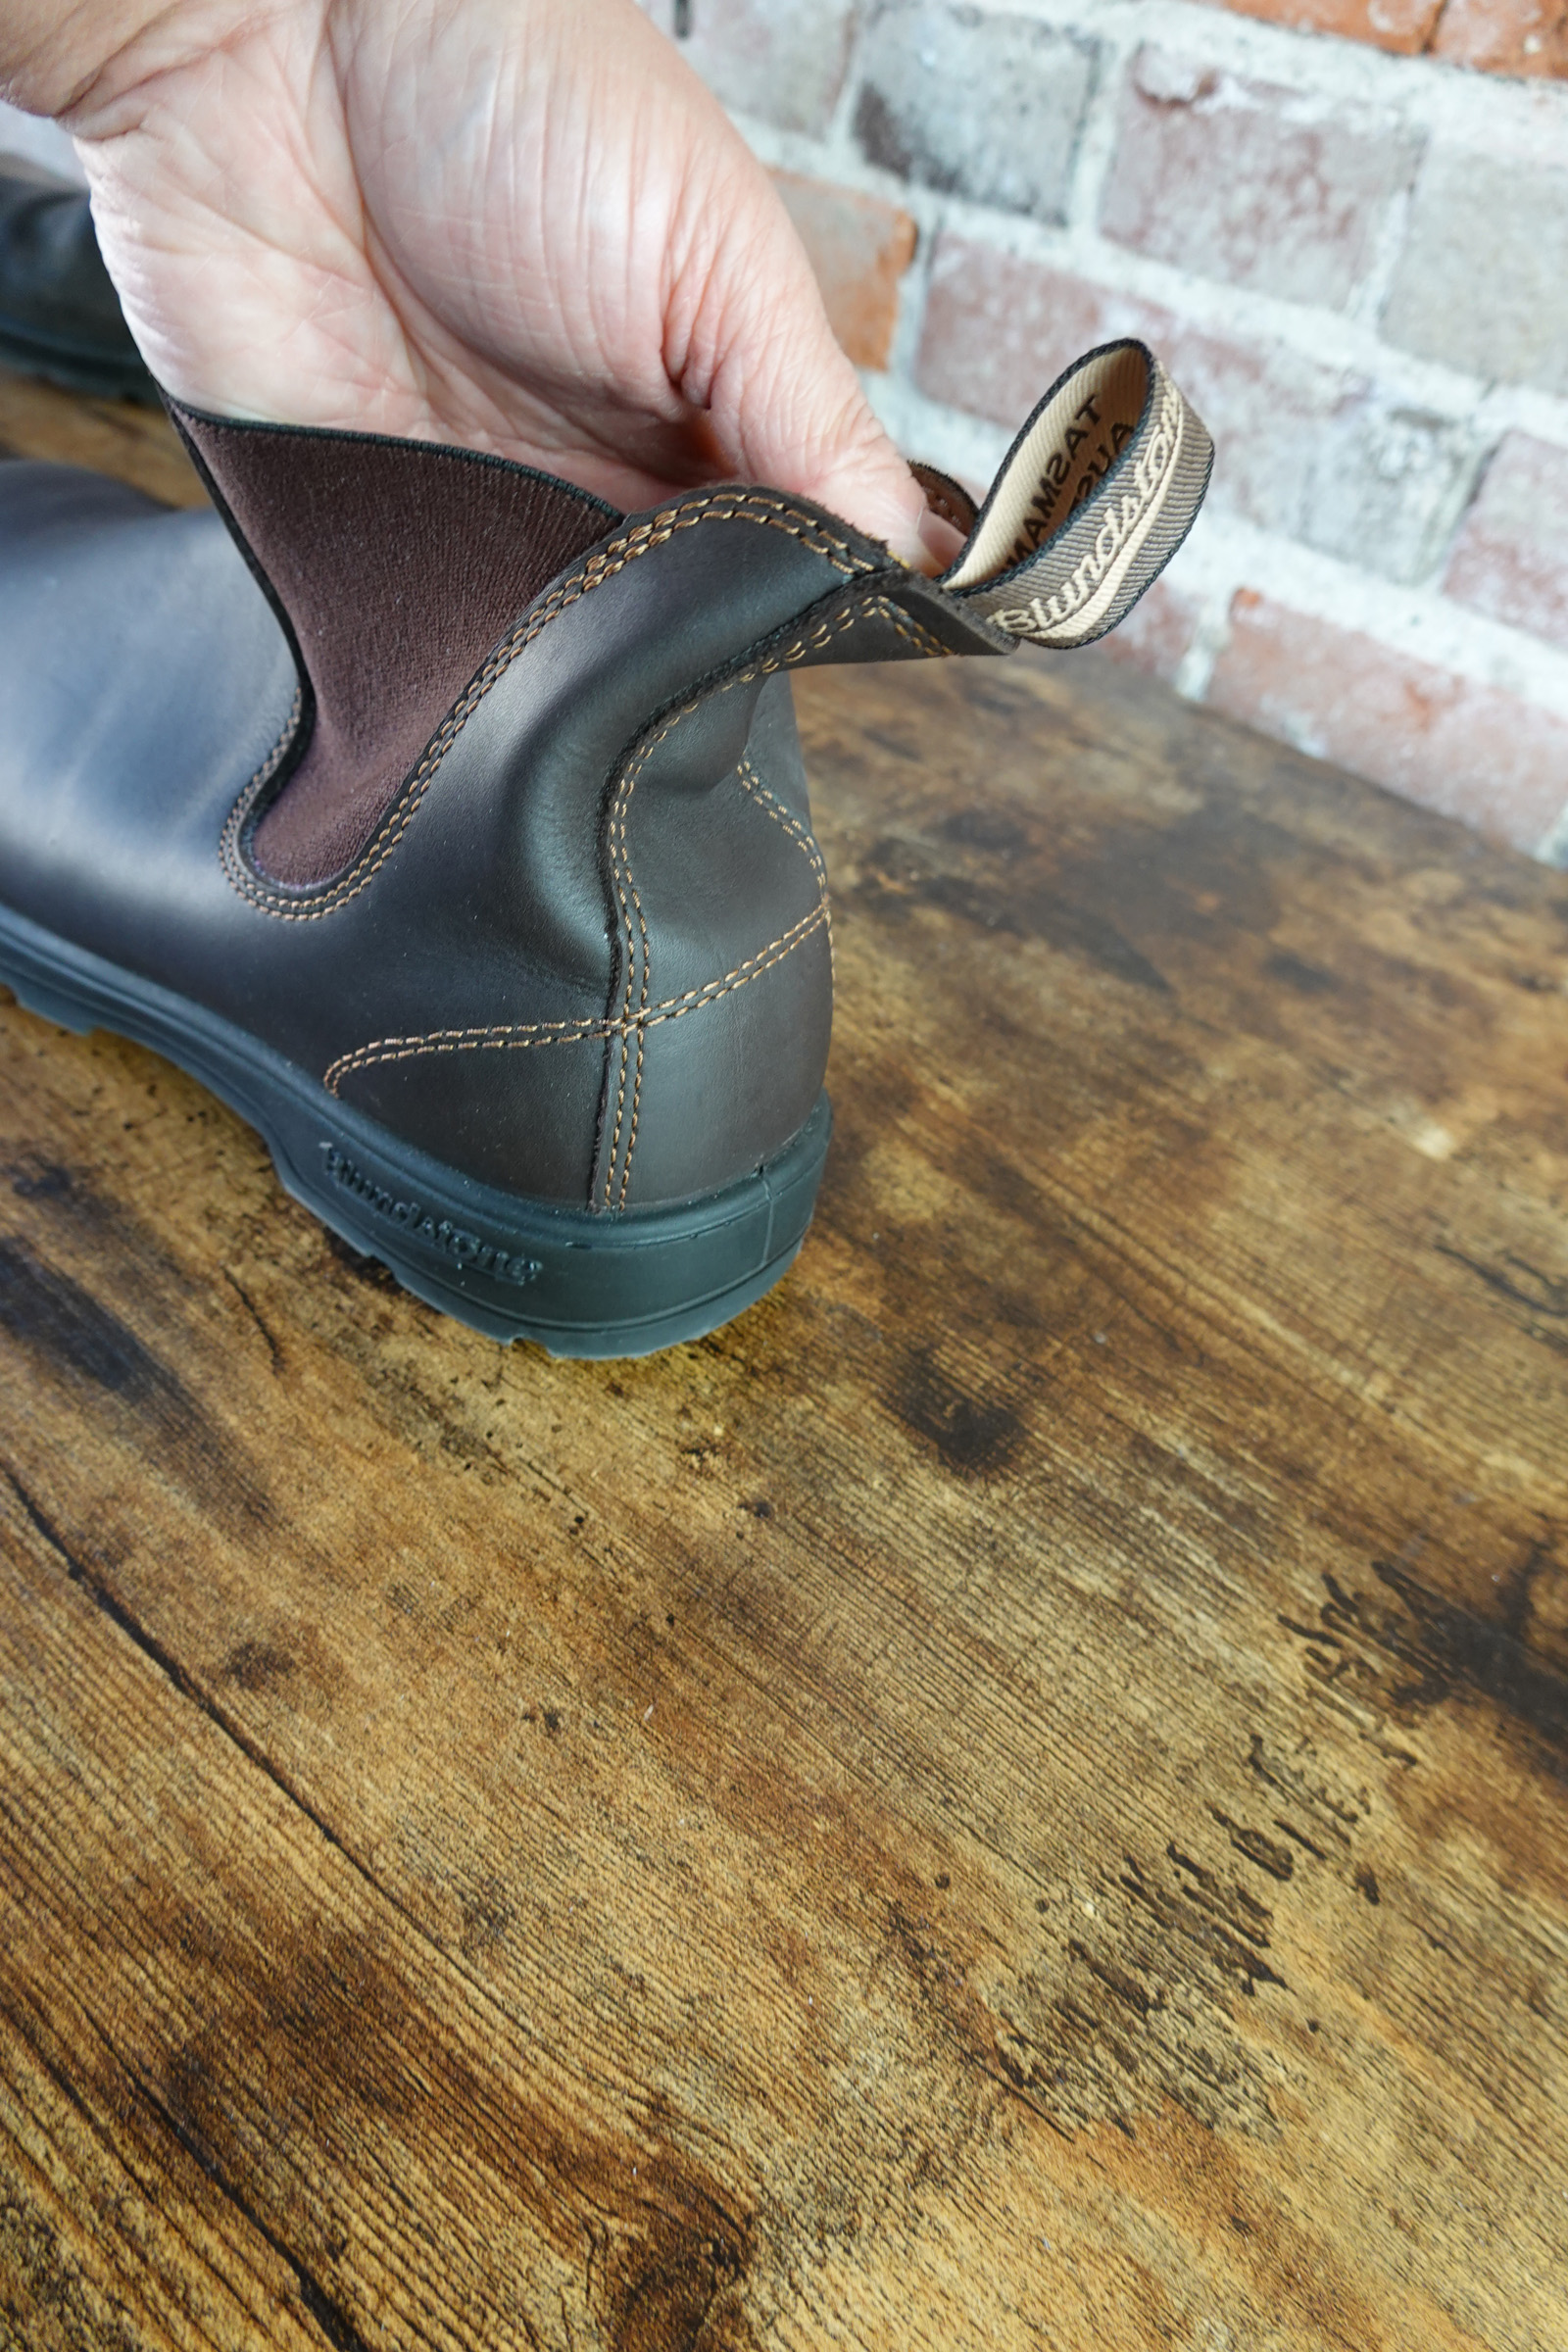
If you own a leather saddle or bridle, you should have some leather oil and conditioner lying around. To help speed up the process of breaking in your new riding boots, grab your stash and start massaging!
If you are using leather conditioner on your boots, apply as much as you can without overloading the leather. Keep applying for as long as your boots soak up the conditioner. Pay special attention to the ankle area and behind the knee. The ankle is where the most flexibility is needed. We also suggest paying attention to behind the knee as it can be quite painful to bend your knees if the boots are too stiff.
If you use leather oil, apply a thick layer of oil and then leave the oil on your boots for a few hours to soak in. Then, before wearing them, simply wipe off the excess. This will help soften the leather and will help you with the next few suggestions we have to quickly break in boots.
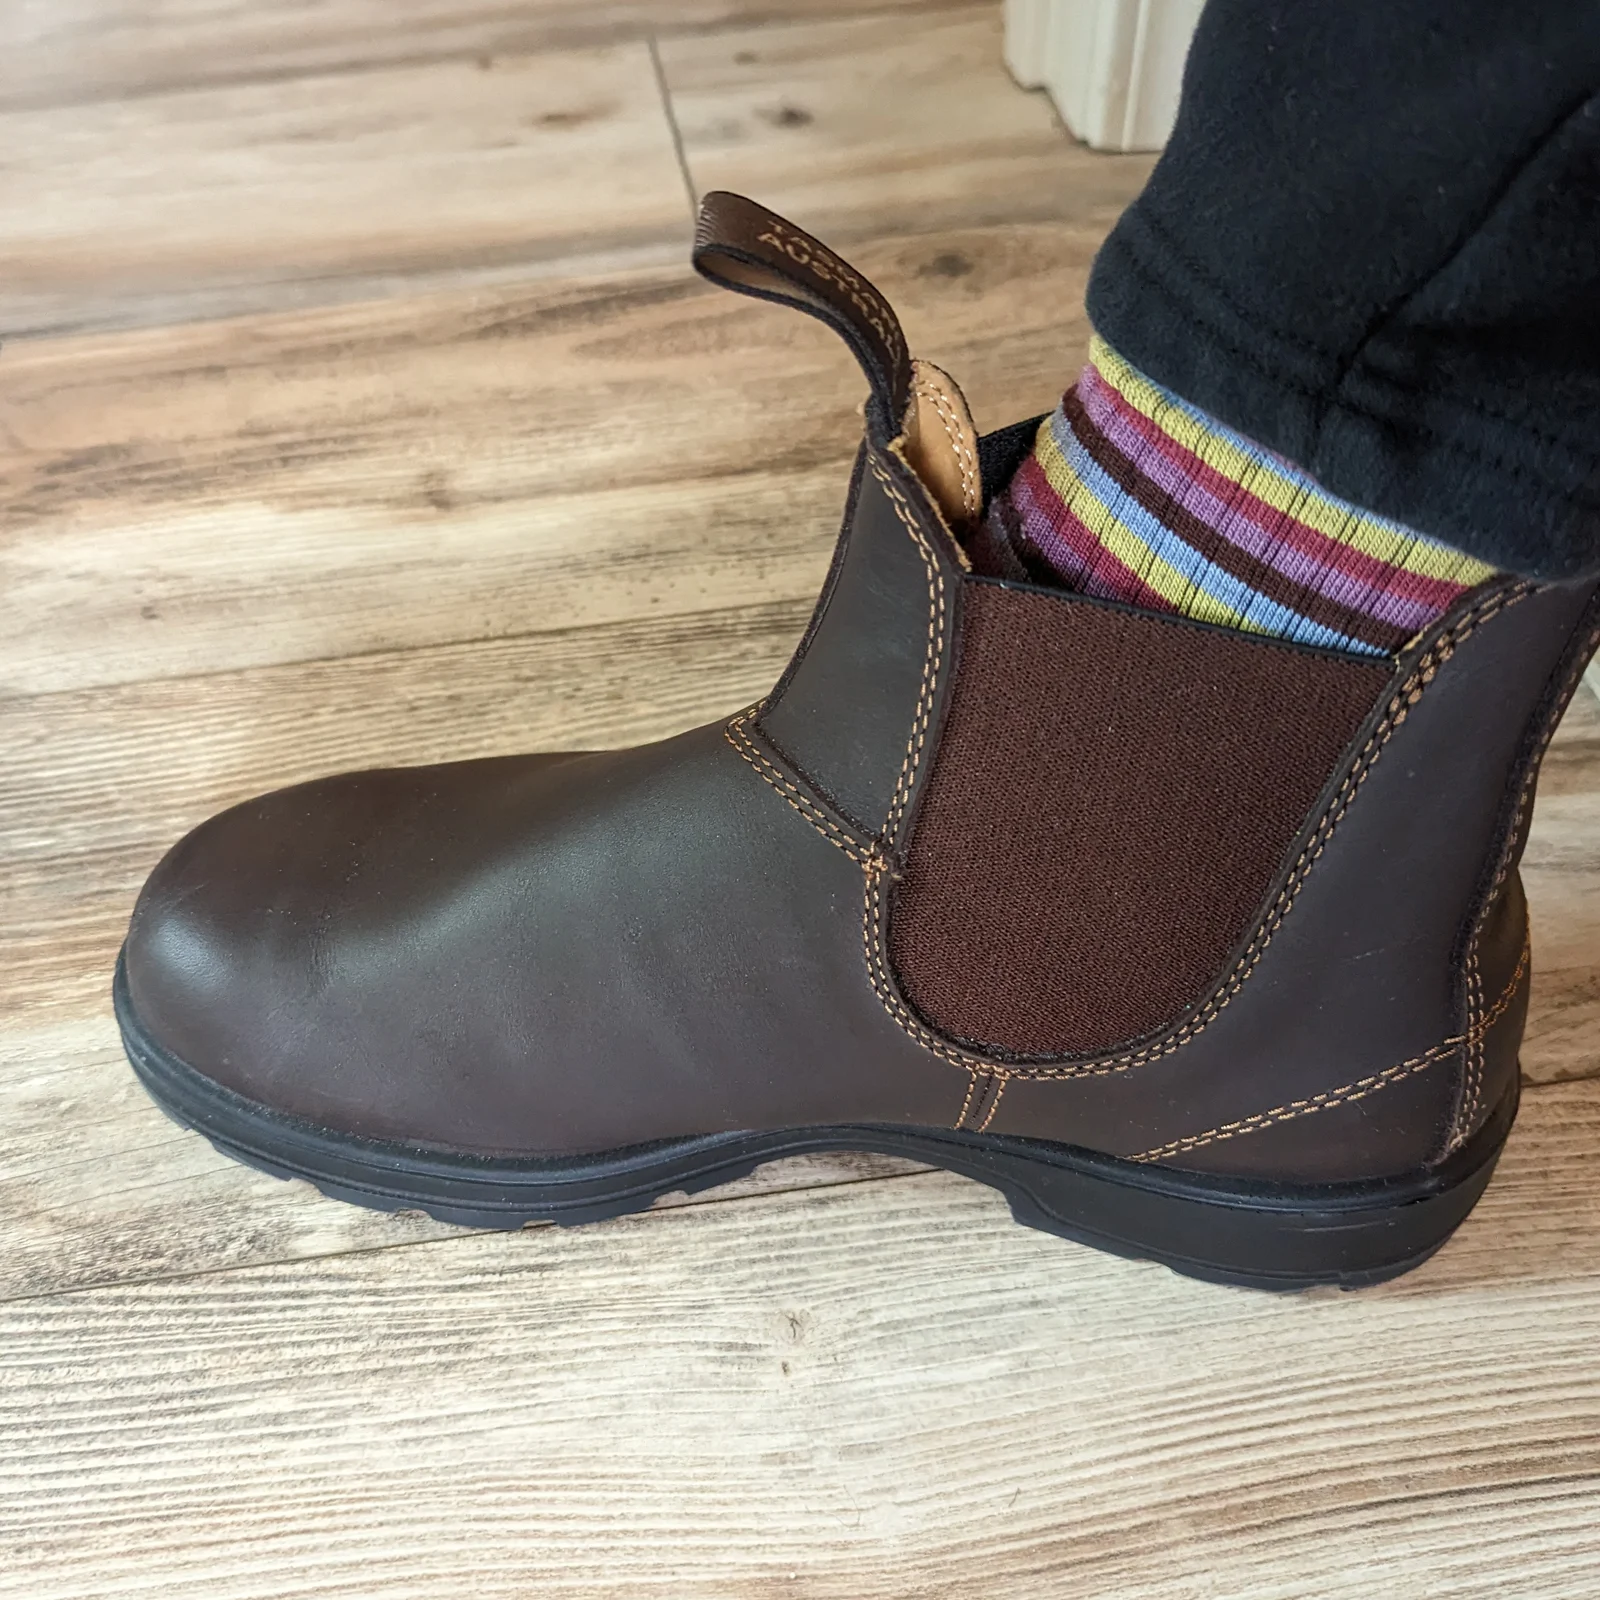
Boot Breaking In Method #3: Walk in Your Boots
Despite the pain and discomfort, you’ are going to eventually have to just walk in your new boots.
Wear them and walk around your house. If you are able, trudge up and down some stairs, it will force the boots to bend at the ankle and allow more flexibility. Try doing some squats and ankle rolls while wearing the boots, again this is forcing your boots to bend in all the right places. The more you wear your boots and force them to move, the faster they will soften up.
Boot Breaking In Method #4: Ride or Work in Your Boots
If you can tolerate your new boots, wear them while riding, working, or hiking. In other words, DO the activity you want your boots to be broken in for. This forces your boots to move in the places needed to ride your horse, work, or walk- and actually use breaks books in pretty quickly.
⚠️ If your boots are very painful, do not wear them horseback riding just yet. Painful boots might cause distraction or even a bad fall from a horse.
Boot Breaking In Method #5: Calf Raises
Don’t have stairs to walk up and down? No problem! Find a ledge (even the front doorstep), stand on the ledge using only your toes, and suspend your heel above the ground. Now, slowly lift to stand on your tip-toes, then lower your heel as far as possible.
This exercise not only helps break in boots quickly, it also increases your ankle and calf strength which will help you with your riding as well.
⚠️ Pro Tip: If you’ve worn your boots long enough to know where they’ll rub, use athletic tape to prevent blisters. Place tape directly on your skin before putting your boots on. The heavy tape will protect the skin from friction while the boot leather breaks in.
The following section may contain affiliate links. As an Amazon Associate, we earn from qualifying purchases.
Boot Breaking In Method #6: Invest in Boot Stretch
If your boots feel a bit tight, you can purchase a spray-on product called “Boot Stretch” product to help stretch the leather. It should be available at the place that sold you your boots, however the effectiveness of the spray does vary depending on the brand- from personal experience, I recommend the Bickmore brand which you can purchase here at Amazon.
Boot stretch application changes from spray to spray, but generally, you simply spray the boot stretch onto your riding boots, leave the boots for 30 seconds to 1 minute, then pull your boots on. It’s as simple as that!
For really powerful boot stretching- like the kind needed for those of us with wide feet- try combining boot stretch spray with mechanical boot stretchers (again, you can pick up a set here at Amazon). Mechanical boot stretchers let you force boot leather to stretch (best to do it slowly, adding a quarter turn every 12 hours or so). When I discovered boot stretchers, it was a game-changer for both my riding boot and casual winter boot game!
Boot Breaking In Method #7: Ride Your Bike
This one sounds a bit strange, but the movement in your ankles while peddling a bike works wonders for adding flexibility to your riding boots. If you have access to a bicycle, try popping your riding boots on and going for a ride. It could be a ride doing laps of your front yard, to go see a friend, whatever you prefer. Just remember that the boots are still going to be a bit painful, so try to keep your ride close to home.
Breaking in Various Types of Boots
Before jumping into methods to break in boots, it’s worth noting that every boot breaks in a little different. Ankle-high boots, knee-high boots, soft-toe, steel-toe, composite-toe, soft leather, hard leather etc. All of them have different pros and cons, but the hardest boots to break in are usually stiff leather knee-high riding boots.
Knee-high riding boots look fabulous and make many new riders feel like a ‘real’ equestrian. They are the boots you see showjumpers and Olympic riders wear, so it’s natural to want to emulate those role models. But these boots have a dark side that no one seems to talk about: A new pair of high-quality leather, knee-high boots are stiff! So still that they can feel like walking in plaster casts when they’re new!
Boot Breaking In Method #8: Prevent Blisters
When you are breaking in new riding boots- especially if you are trying to break in boots quicky- it is likely that you will encounter blisters. The blisters can appear on your ankles, the balls of your feet, the pads of your toes, wherever the boots are rubbing your feet and legs.
To help prevent this, we suggest wrapping your legs. Riders who own their own horses should have a small supply of vet wrap on hand, so, grab one of your horse’s bandages to use. If you don’t have any on hand, they are available at almost all horse shops and are usually quite cheap.
Part of what makes vet wrap great is its durability. This means you aren’t likely to wear holes in it like a pair of socks. Vet wrap is also self-adhesive so it won’t slip on your legs like a regular bandage. The self-adhesive feature also means you don’t need to pin or tie the bandage. This reduces the number of things that can rub inside your boots.
Alternately, applying an anti-chafing balm like Body Glide to portions of your leg, ankle, foot, and toes where you might blister can protect skin and prevent friction.
Conclusion
Remember, good-quality leather boots will soften the more you wear them, don’t give up! It will take time and persistence but if you’ve purchased the right size, and boot can be buttery soft and comfortable if you’re willing to do the work to break them in.
If this process is just too much for you, remember that unless they are part of the dress code in your horse shows or riding lessons, you don’t have to buy this style of boot. Knee-high boots also come in softer leather. Feel free to try as many boots as you want until you find riding boots that offer proper protection and make you feel and look great.
At the end of the day, this advice for red flags demonstrating your shoes don’t fit can also be a helpful resource.